

Journey Instruments Australia
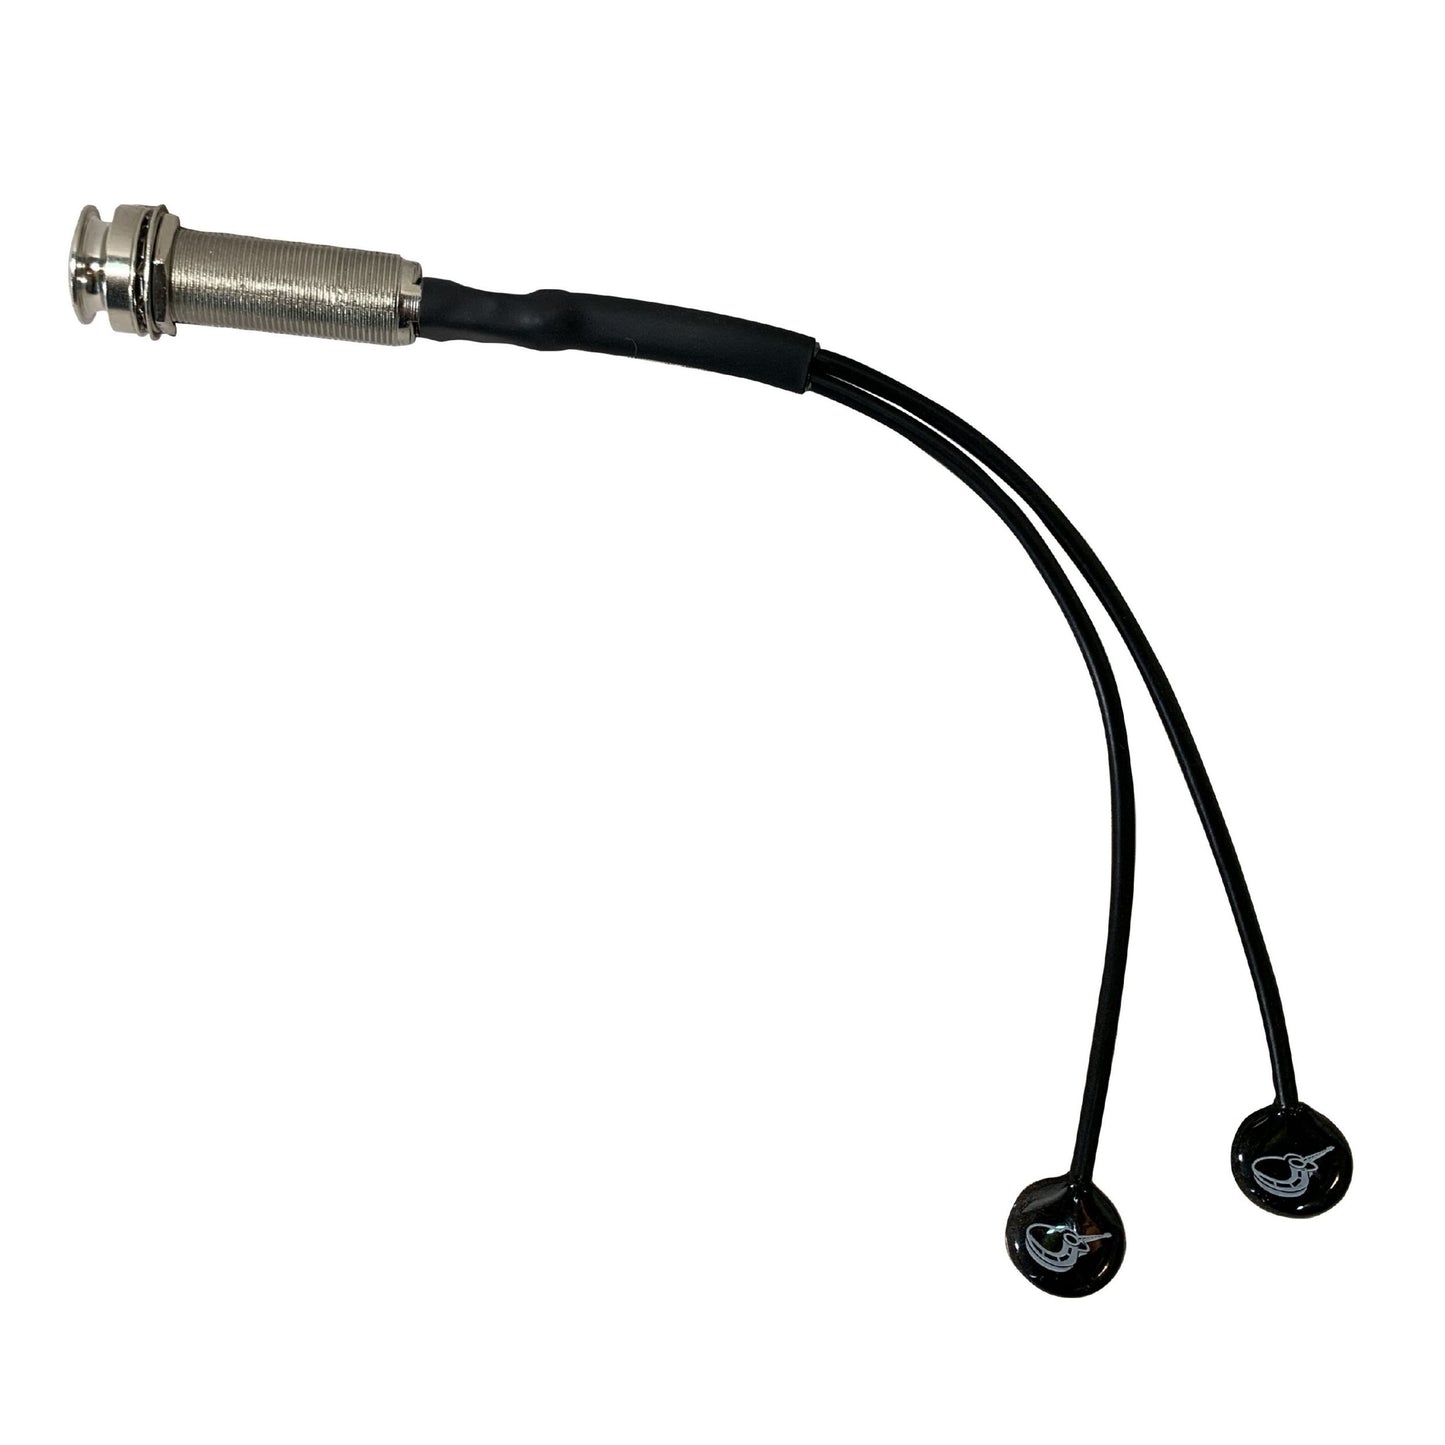
JourneyTek Passive 2-piezo Ukulele Pickup EP003K
JourneyTek Passive 2-piezo Ukulele Pickup EP003K
In stock
Couldn't load pickup availability
- Shipping Australia-wide
- 30 Day Returns
- Top Quality Store on Google
A clear transparent passive 2-piezo pickup for Ukuleles. Requires no batteries.
Share

Great Review from Garage Band and Beyond
More Details
Collapsible content
Installation Guidelines
Download the Official Installation Guide Here
Best practice for piezo pickup system installation
Here’s a step-by-step guide for installing a passive piezo pickup system:
- Preparation
Remove neck from guitar and clear the sound hole of the strings.
Remove saddle or remove or loosen saddle slot components so the saddle slot is accessible. - Marking positions
Identify string positions above the bridge plate.
Use a jig (or tape / small markers) to mark where each piezo should sit so each disc is under its corresponding string (or as near as possible). For a 4-piezo system, likely under strings 1-4, or spaced so the discs correspond to groups of strings depending on string spacing. - Gluing / bonding
Ensure bridge plate surface is clean, flat, and dry.
Use superglue gel or adhesive that bonds well to wood, but keep glue layer very thin.
Glue one piezo at a time; press firmly for ~30 seconds to ensure bond. - Spacing and alignment
No overlapping of piezo disks. They must lie flat.
Equal spacing is important for balanced volume across strings.
Position as close to saddle contact points as possible (without interfering with the saddle itself). - Wire routing
Drill hole(s) for wiring, usually through end block or side. Avoid drilling through brace(s) unless intended.
Route wires cleanly, avoid sharp bends, strain on the soldering points. - Endpin jack installation
Measure thickness of the end block wall; adjust the backing nut length so that, when tightened, the jack sits flush and allows full cable insertion.
Use washers (locking washers, etc.) per your existing guidance. - Testing and final assembly
Before re-stringing completely, test output (plug in) to ensure each string is roughly balanced. If some strings are weak, check alignment or bonding of piezo under those strings.
Reinstall saddle, bring strings up to tension; test again. - Fine tuning
Once strings are up, you may notice differences in sensitivity between strings: small adjustments (re-glue small shift, or adjust saddle contact) may help.
Use high-impedance input (10 MΩ or higher) preamp if possible to avoid loss of low end.
Further Guidance
Proximity to vibration source
Piezo discs need to be as close as possible to the saddle/bridge area so they capture string vibrations efficiently. If there's too much wood, glue, or empty space between them and the bridge plate, signal drops or tonal imbalance can result.
Alignment under strings
Each piezo (or as many as you have) should lie under or near each string (or group of strings) so you get even output across all strings. Misalignment causes some strings to be louder/softer.
Glue / adhesive
Use glue or adhesive that is strong, but as thin in layer as possible, so you don’t dampen vibration. Super glue / CA / neutral-cure adhesives or thin epoxy is often used.
Avoid overlapping or stacking
Discs must not overlap; overlapping causes interference, changes in mounting pressure, and loss of clarity.
Routing or shallow pocketing
In some cases, to help get the piezo flush and close to the bridge plate, builders will route shallow pockets or recesses in the bridge base so the piezo is nearly flush. But you need to ensure it doesn’t compromise structural integrity.
Securing wires / output jack
Drill appropriate holes (angled or straight) for the wiring so there's minimal stress on wires. Make sure the output jack (often endpin jack) is securely fitted, with proper washers so the nut doesn't over tighten and compress wood too much.
Customer Reviews
“I received and installed my acoustic pickup. OMG it sounds amazing. Blew my mind it’s honestly so good I am removing my LR Baggs Anthem from my other acoustic and replacing it with another one of your pickups!”- Matt, Worship Leader, CA
“I am completely amazed at the sound! I have a 1920s parlorish guitar and it sounds phenomenal, great work! Like butter! F***in’ A!” – Doug, Texas
“I just want too thank you!!! The pickup in my Yamaha acoustic/electric bit the dust and I came across reviews of your passive pickups. My son and I installed them today and…. OMG my guitar sounds truly amazing. I was skeptical but no longer.” – Bruce, California
“I just received my Journey acoustic pickup and I didn’t waste any time getting to work on the installation. I have a Takamine that had a previously installed preamp and piezo bridge. So before I could install the Journey pickup I had to carefully remove the old system that had died after after about 9 years of faithful service. My bridge presented a minor challenge because it is pin less. I was able to find three locations to attach the pads and within 30 minutes I was tuning up my strings and plugging in to test out my work. Plugged into my Bose S1 Pro direct without any preamp was my first test. I have to say that I was really impressed with the tone! Next test was going through my NUX Floor Stageman Acoustic pedal. Now I had a sound that I would be confident to use anywhere. My other guitar is a Martin Black Smoke 000-17 with a LR Baggs Anthem SL installed in it. I played both guitars back to back to compare the tones. I was shocked at how close the tones were. The Anthem cost 4 times as much as the Journey! I will definitely purchase another one should I ever need to do this again! Thanks Journey!” – Chris, Maryland
“I have installed your dual source pickup system on my Martin CEO 7 few days ago and I still can’t believe how good it sounds… It’s absolutely amazing! As compare with LR Baggs Lyric it’s definitely another world. You’ve done the best pickup system on the market for sure.”